Why do a flour photo shoot outdoors?
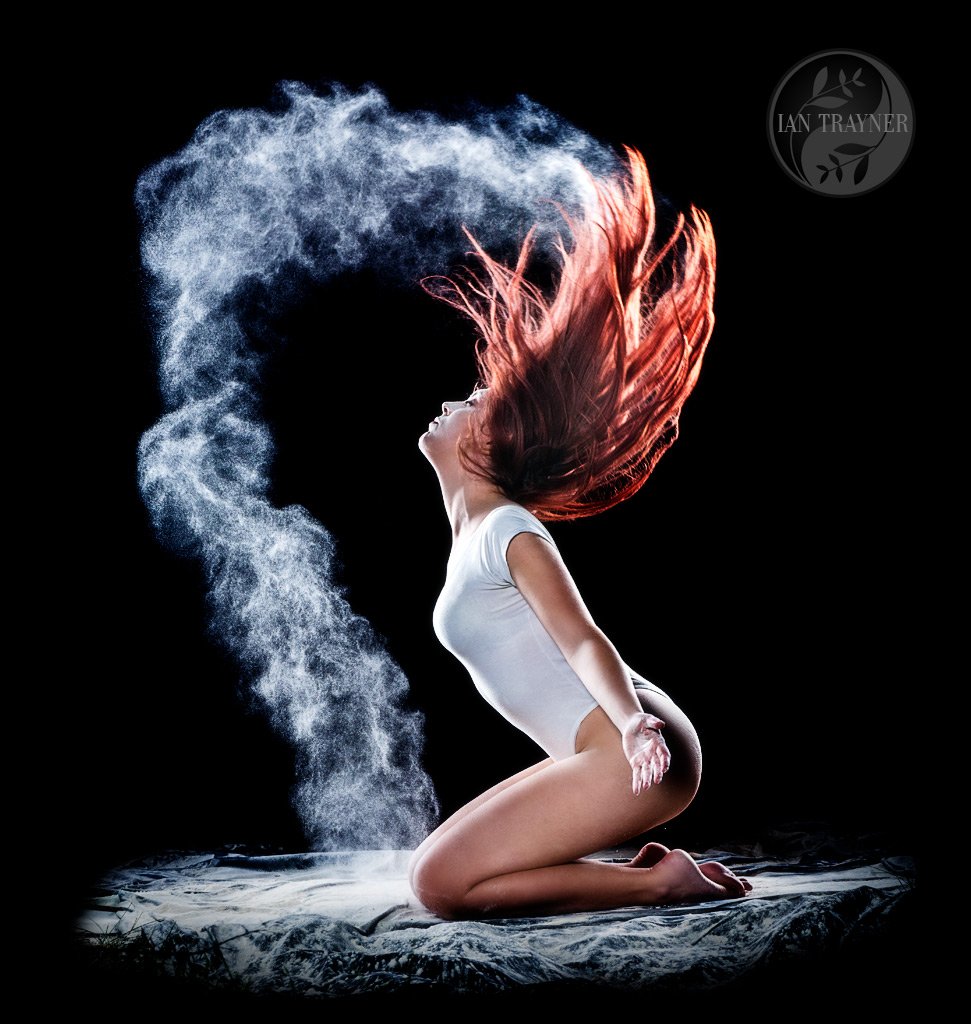
Flour photo shoots make a LOT of mess! Originally I invited model and performance artist Katie Berns to do this photo shoot in my studio, which is in Kingston upon Thames. But after doing a bit of research I realised just how much mess it was going to make! So I changed my plan, and we did the flour photo shoot in the garden. This was very easy to arrange, because the studio opens directly onto the garden through some wide doors.
The day after we did this flour photo shoot, there was a lot of flour in the garden, and because it had got damp, it was sticking quite stubbornly to plants and other things. All my clothes pegs got flour stuck all over them. There are still signs of the flour now as I write these words, three months after we did the flour shoot.
What made this flour photo shoot so challenging?
What made this particular flour photo shoot really challenging was the extreme cold. We did the shoot in early March, and it was VERY cold by (South East) British standards. Although it was above freezing, it was only above freezing by a few degrees, and the air was damp. It felt extremely cold even to me, and I was fully dressed. Poor old Katie – I was seriously worried about her wellbeing. But she was extremely professional, and totally dedicated to capturing some stunning images.
It was also threatening to rain the whole evening, but fortunately the rain held off – all except a few small drops. If it had rained hard, we would have abandoned the flour part of the photo shoot. (We also did some ballet and dance photography in the studio, earlier in the day, before it got dark).
When Katie got too cold, she put on my thick fluffy dressing gown and headed indoors to warm up and stop shivering. She was very brave, and I was very impressed by her professionalism and fortitude. I have to add that she could have stopped at any time.
How to do a flour photo shoot
From a technical point of view a flour photo shoot is very straightforward. You don’t need a particularly high shutter speed. I was using 1/200s, so there aren’t any problems with syncing a studio flash.
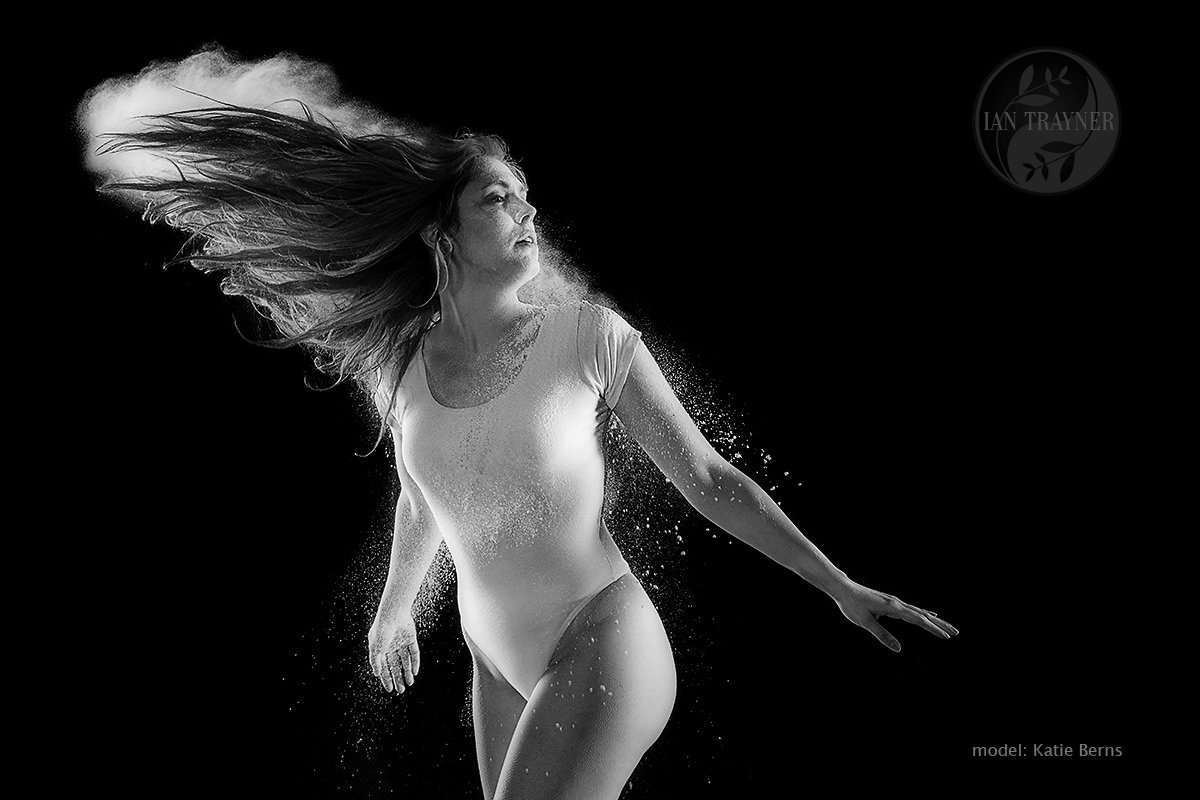
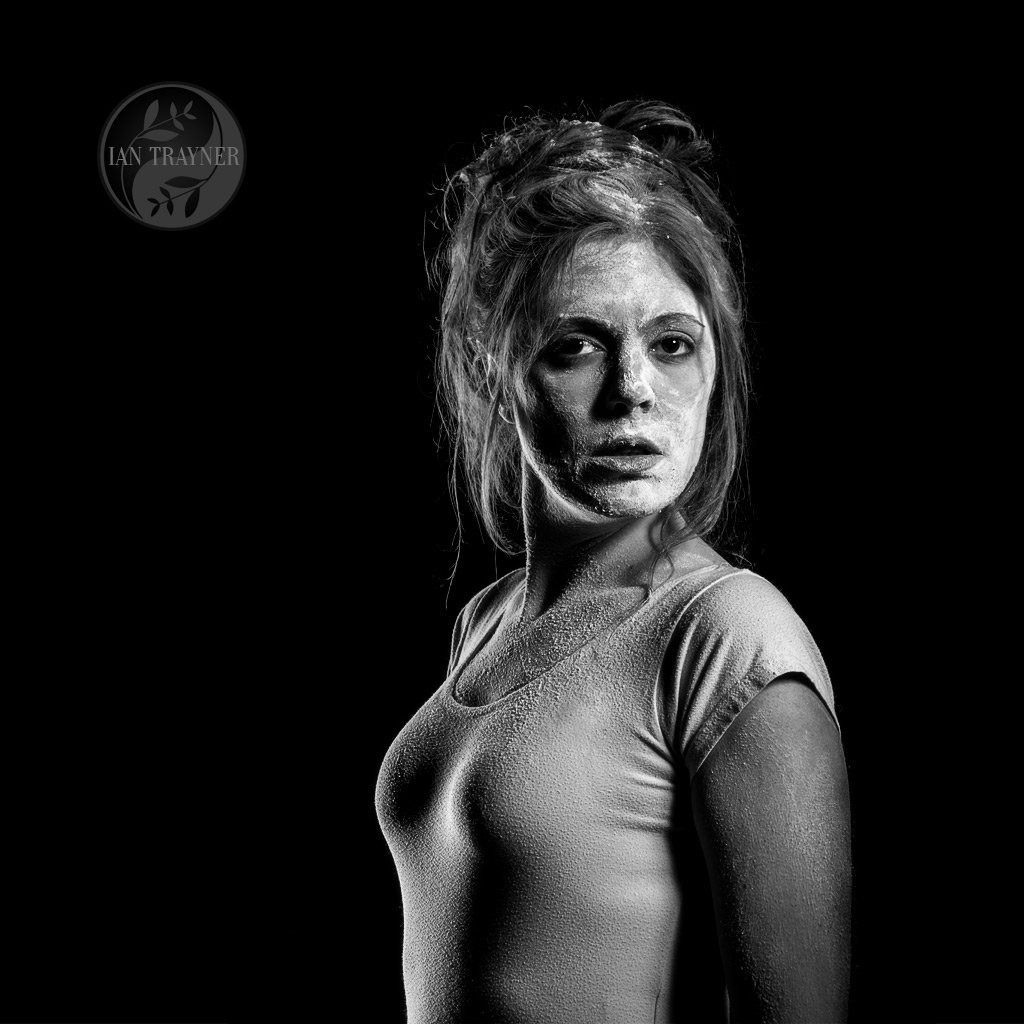
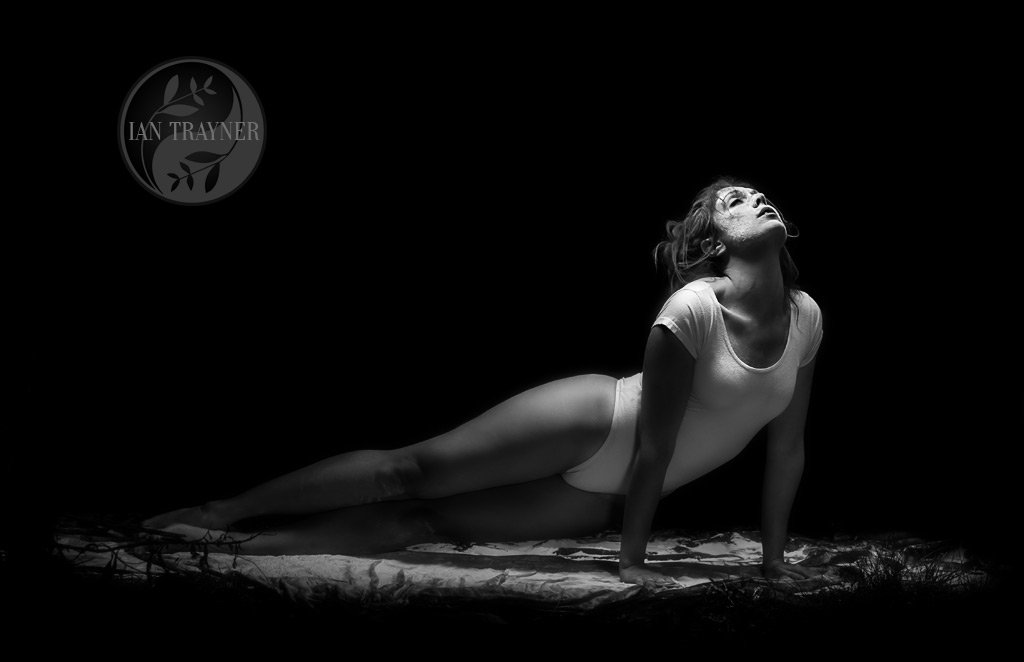
As with any other photo shoot, the photographer will arrange the lighting according to the image you wish to create. The flour in flour photo shoots is usually lit from behind, against a dark background. But this is just a matter of taste. I think when the background is dark, or black, the contrast of the white flour against the dark background is extreme, so this tends to give dramatic images. My personal preference was to avoid putting a powerful light on my model from the front. I wanted to have sufficient light to see Katie, but I wanted most of the impact of the images to be from the light on the flour, and the rim lighting along the sides of Katie’s body – and through her hair.
When I was researching how to do a flour photo shoot, I discovered there are quite a lot of descriptions available on the web (now there’s a surprise!) I am not the first photographer to do flour shoots by a long chalk. If you go online you can find images similar to these. However next time I intend to add a bit more photographic creativity!
Because I wanted a dark background, it made sense to do the flour photo shoot after dark. Next day my neighbour said he had wondered why there was so much lightening during the night, but no thunder!
Is it possible to hire me to do your very own flour photo shoot?
Absolutely. This would be a “standard photo shoot”, so visit this page to see my rates.
Technical information
F8, ISO 400, 1/200s
I used three studio flash heads. It doesn’t matter which ones you use, but I had the luxury of using three Ilux 600 Summit heads. These are 600 Watt flash heads, and they are battery powered, so they are fully portable. I bought mine from Photomart, and rather annoyingly, they have come down a lot in price since I bought mine!
The flour was lit from both sides behind Katie. This had the effect of putting bright lighting on the flour, and they also cast a beautiful rim light on Katie Berns’s body. The modifiers on these lights probably aren’t critical, as long as you can control the spread of light. I was lucky because I could use a tall thin soft box with grid on both sides.
I also had a fill light in front of Katie, near the camera. I don’t remember the ratio of the fill light to the rear lights, but the rear lights were significantly brighter than the fill light. In a situation like this, I would recommend experimenting with the lighting ratios to see what pleases you most.
My recommendations if you want to do your own flour photo shoot
- Do it outdoors if you possibly can! If you have to do it indoors, be aware that you will have a fine dust of flour covering everything, and a thick pile of flour on the floor. And be aware that flour gets very sticky when it gets damp, so I recommend cleaning it up as soon as possible after the shoot!
- Think about the set. Do you want it dark? Will it be necessary to do the shoot after dark? If you are not sure, test it. Although we did this shoot after dark, I don’t think that will be necessary if you have some powerful flash heads. It may even be possible to make use of the sun, if there is direct sunlight (best from behind the model I think).
- Have a look at flour photos on the web, and then try to add your own thing. For example I found this youtube video quite interesting;
https://www.youtube.com/watch?v=AcSZaPXHSJ0 - Avoid throwing flour directly into your model’s face! Check that she (or he) doesn’t have any reactions to dust, or flour. Don’t let your model freeze to death if you are working outdoors. Ho ho.
