Commercial fashion shoot for Trendhood Royale
The creative team
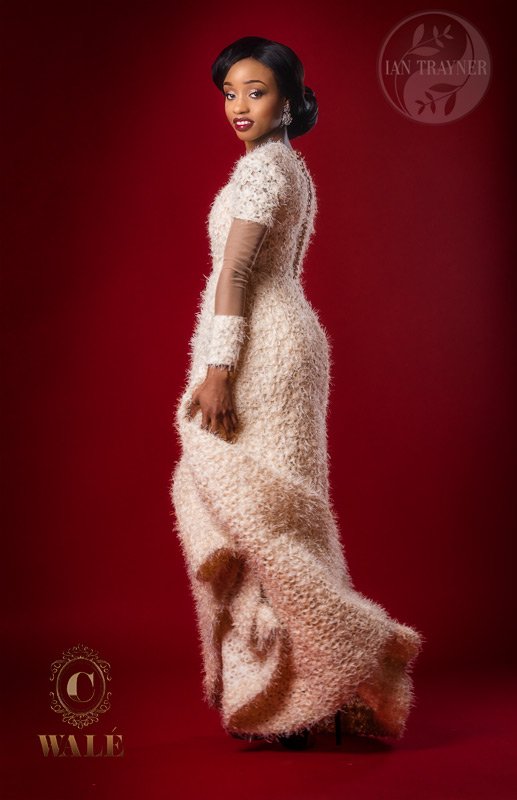
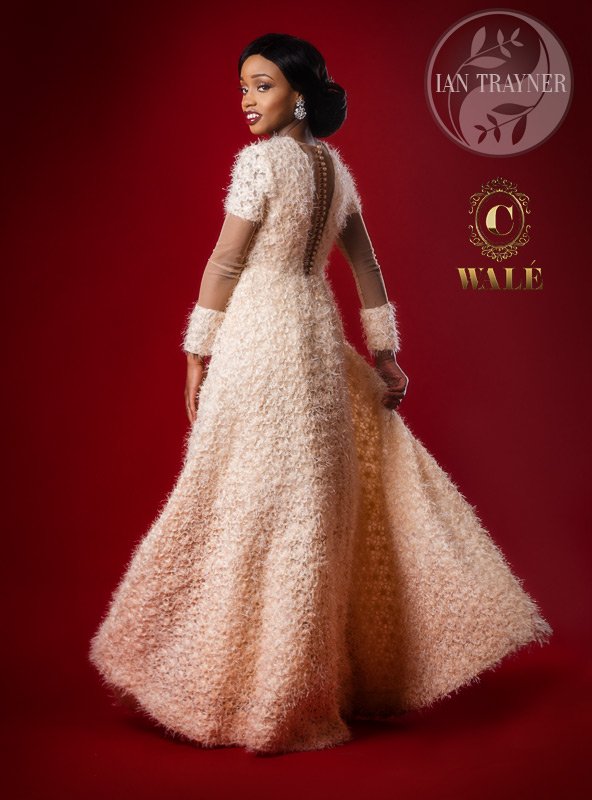
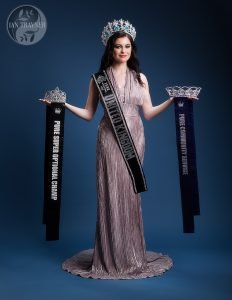
We did this photo shoot in my studio in Kingston upon Thames. The creative team were; Yollanda Musa (model), Caroline from C Walé (hair and make up) and myself as the photographer. The dress was designed and made by Trendhood Royale.
We got through a lot on this shoot, and this post is just about the dress. This is a dress which Yollanda wore to one of the numerous award ceremonies that she keeps getting invited to.
Trendhood Royale – dress designer
Trendhood Royale is a new business that is starting to make a name for itself. I have copied this text from their facebook page;
“We are poised to delivering exceptional contemporary pieces to women looking to brighten up their wardrobes with vibrant colors, unique patterns and styles. Trendhood Royale fuses design,quality and utility in every of our pieces while celebrating african prints and western unique fabrics.TR pieces are timeless and classic which guarantees a perfect thing to wear and will last for years to come. We promise u ” an image to remember” always”.
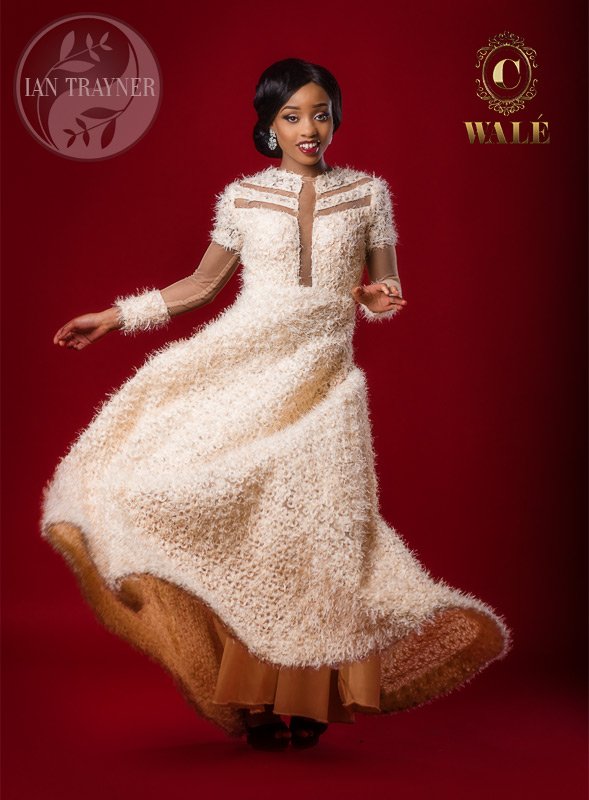
The dress in these images was designed specifically for Yollanda’s first ever beauty pageant, Miss Pride of Africa UK, for the evening gown segment. The design was inspired by Disney princess gowns, because they didn’t want to go for a more typical pageant gown.
Yollanda Musa – model
Yollanda is “small but perfectly formed”. I have worked with Yollanda on a number of occasions now, and I have lost count of how many awards she has won (and been nominated for) in the few years that I have known her. She has enormous energy and seems to be everywhere. She is definitely one of the most professional models I have had the pleasure of working with.
C Walé hair and make up
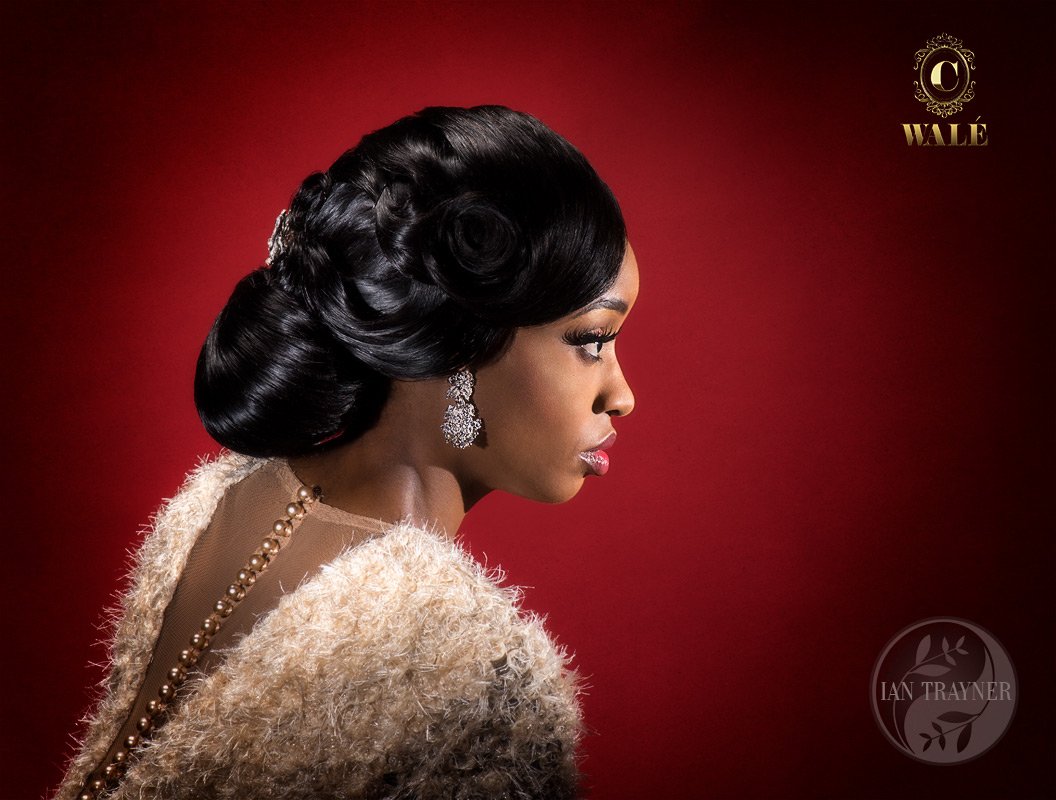
Caroline from C Walé does hair to an exceptionally high standard, as you can see in my photo of Yollanda’s hair.
How to photograph the dress?
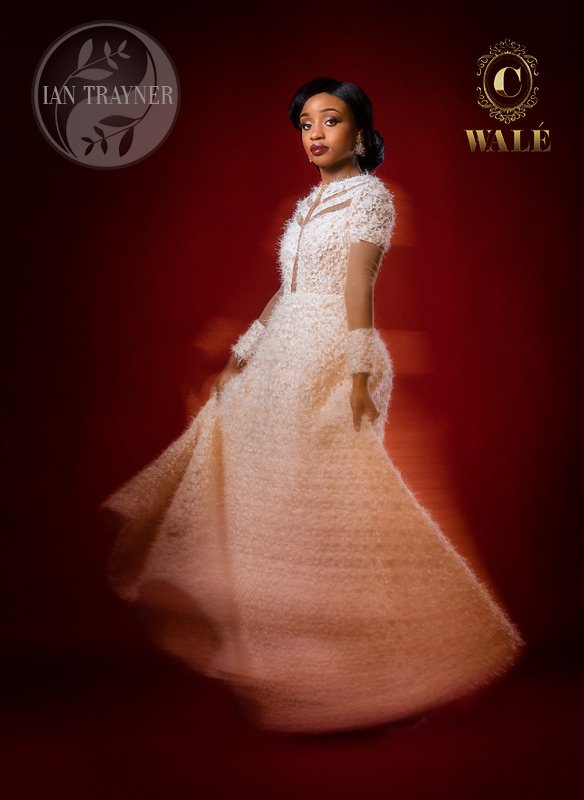
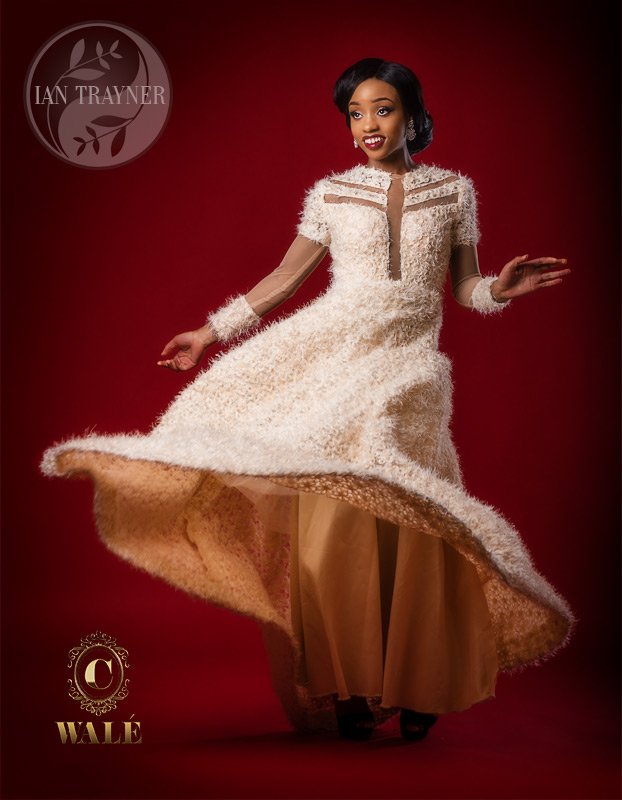
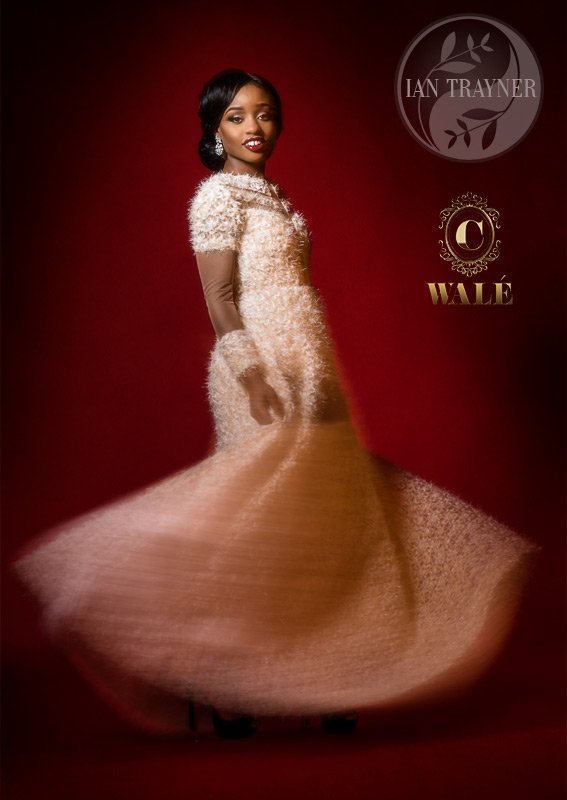
My aim was to show how the dress looks in movement, because the way it hangs and moves is very striking in real life. I decided to do this by freezing movement, and also by blurring the movement.
These images were shot in my photo studio against a red background, using (mainly) studio flash;
Freezing the image
Freezing the image is very straightforward for this speed of movement. I asked Yollanda to swirl the dress around, and it’s movement was frozen by the studio flash. I do not know the duration of these flashes, but they are a lot shorter than the time the shutter is open. So the dress is frozen in movement.
The key light was a reasonably large soft box with grid in front of her (camera left). The fairly subtle rim light was provided by a tall think softbox with grid behind her (camera right).
Each photo is different, and it is difficult to “position” the dress precisely. It is hit and miss, So it is just a matter of taking photos until you are sure you have captured what you want.
Blurring the dress
Any photograph that is captured using flash is effectively a superposition of two exposures. One is the exposure captured with however much ambient light is present, and the other is the exposure due to the flash.
So if a photographer wants a moving dress to appear blurred, he has to use a relatively slow shutter speed, and have sufficient ambient light on the moving part of the dress. I achieved this using an LED light panel that was aimed primarily downwards towards the bottom of Yollanda’s dress. The intensity of light given off is adjustable, and it has “barn doors” to help limit the spread of light. So by brining the light close to Yollanda, pointing it downwards, and using the barn doors, I was able to keep most of it’s light off Yollanda’s head. Some light was spilling onto Yollanda at head height, but I decided it was not enough to interfere with the effect I wished to create.
In addition to the LED light panel, I directed an additional flash, fitted with a beauty dish, towards Yollanda’s head. The trick is to balance the light intensity of both light sources. This can be done by trial and error, but it is much easier if the photographer uses a light meter to measure how much light is being given off. The photographer can adjust both lights to give the same amount of light , or different amounts of light if that is called for. Bear in mind that the amount of ambient light depends on the shutter speed, and you don’t need to worry about the shutter speed when measuring the intensity of light from the flash (because the burst of flash light is much shorter than the length of exposure).
So if you have a light meter, it is very straightforward balancing your light sources.
Another important thing to consider is the colour temperature of the two light sources. These should match reasonably well, unless you want them to be different for artistic reasons.
Would you like to hire me for commercial photography?
Go have a look at my contact page 🙂
